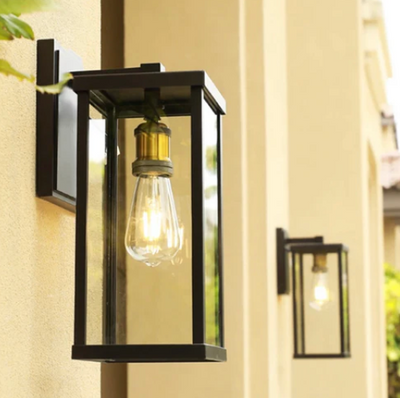
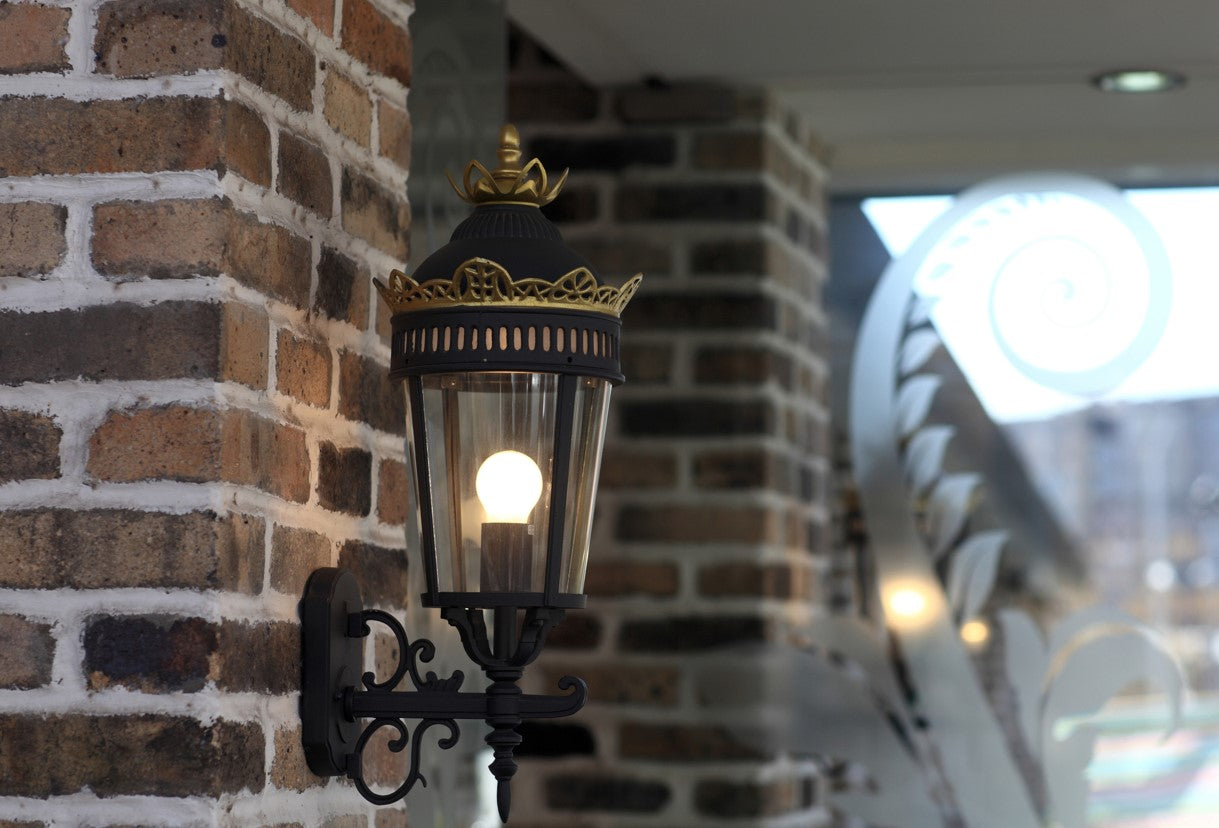
Your porch light has finally given up the ghost, leaving you fumbling for keys in the dark like some sort of modern-day caveman. Before you resort to using your phone’s torch for the rest of eternity, let’s sort this out properly. Changing a porch light bulb might seem like basic adulting, but there’s more to it than simply screwing in a replacement. Whether you’re dealing with a stubborn bulb that won’t budge or considering a complete fixture upgrade, this guide will illuminate the path forward.
A functioning porch light does more than just help you find your front door after a night out. Upgrading your porch light can enhance your home's exterior, boost curb appeal, and provide effective security lighting. It’s your home’s first impression, a security feature that deters unwanted visitors, and frankly, it prevents your neighbours from watching you perform an interpretive dance with your keys every evening. Plus, there’s something deeply satisfying about tackling a DIY job that doesn’t require calling a professional.
Let’s get that porch light blazing again, shall we?
Safety first (because hospital visits are never fun)

Before you even think about touching that light fixture, let’s talk about not electrocuting yourself. Electricity and humans don’t mix particularly well, despite what superhero films might suggest.
Turn off the power at the circuit breaker. This isn’t optional. Find the switch (within your electrical box/junction box) that controls your porch light and flip it off. If you’re not sure which one operates your main lighting circuit cable, turn off the main power supply temporarily. Yes, this means your Wi-Fi will go down for a few minutes, but your hair will thank you for not being electrified. Always follow proper safety precautions when working with electrical devices to prevent accidents.
Wait for the bulb to cool down. If your light was recently on, give it at least 15 minutes to cool. Hot bulbs can cause nasty burns, and explaining to your mates that you were defeated by a light bulb isn’t the best look.
Use a sturdy ladder on level ground. Your wheelie bin is not a suitable platform, no matter how confident you feel. Neither is that wobbly stepladder you’ve been meaning to fix for the past three years.
Use a voltage tester to confirm the power is off. Before you touch any wires, use a voltage tester to make sure there’s no electricity running to the fixture. Double check that the power is completely off before proceeding.
Tools you'll need to change an outdoor light fixture (probably already in your junk drawer)

The beauty of changing a porch light bulb lies in its simplicity. You won’t need a degree in electrical engineering or a toolkit that costs more than your car.
Essential tools:
-
A replacement bulb (we’ll cover choosing the right one shortly)
-
A sturdy ladder or step stool
-
A screwdriver (flathead or Phillips, depending on your fixture)
-
Work gloves for better grip
-
A torch or headlamp for better visibility
Optional but helpful:
-
A small brush for cleaning the fixture
-
A cloth for wiping down surfaces
-
Wire nuts (if you’re planning to replace the entire fixture)
-
A voltage tester for extra peace of mind
-
Wire strippers (for removing insulation from wires if replacing the fixture or if wires are too short)
Step-by-step guide to changing your porch light bulb

Now for the main event. Take your time with these steps – rushing leads to broken bulbs and potentially broken bones.
Step 1: Remove the fixture cover
Most porch lights have a glass or plastic cover protecting the bulb. Look for screws around the base or clips that hold it in place. Some covers twist off anticlockwise, while others require you to remove several small screws. Keep track of any screws or small parts – they have a mysterious tendency to vanish into another dimension.
Step 2: Remove the old bulb
Grip the bulb firmly but gently, and turn anticlockwise. If it’s stuck (and they often are), try wearing rubber gloves for better grip. For particularly stubborn bulbs, you can use needle-nose pliers, but wrap the bulb in a cloth first to prevent it from shattering.
Step 3: Clean the fixture
While you’re up there, give the fixture a quick clean. Remove any dead insects (they seem to have a death wish when it comes to light fixtures) and wipe away dirt or grime. This improves both appearance and light output.
Step 4: Install the new bulb
Screw in your replacement bulb clockwise until it’s snug, but don’t overtighten. You want it secure, not welded in place for the next person to deal with. Make sure to use light bulbs that are rated for outdoor use and compatible with your fixture.
Step 5: Replace the cover
Put everything back as you found it, ensuring the cover is properly sealed to keep moisture out.
Step 6: Test your work
Turn the power back on and flip the switch. If it works, congratulations – you’re officially a lighting expert. If not, don’t panic; we’ll cover troubleshooting next.
Troubleshooting common porch light problems

Sometimes things don't go according to plan. Here's how to handle the most common hiccups.
The bulb won't come out
Stuck bulbs are frustratingly common, especially if they've been in place for years. Try these techniques:
-
Use rubber gloves for better grip
-
Gently rock the bulb back and forth while turning
-
Apply penetrating oil around the threads and wait 10 minutes
-
Use needle-nose pliers wrapped in cloth as a last resort
The new bulb doesn't work
First, check that you've turned the power back on (it happens to the best of us). If the power's on but the bulb still doesn't work, the issue might be:
-
A faulty bulb (it happens)
-
A blown fuse or tripped breaker
-
A problem with the fixture's wiring
-
A faulty switch
The fixture keeps collecting water
If water is getting into your fixture, check that:
-
The cover is properly sealed
-
There are no cracks in the glass or housing
-
The fixture is rated for outdoor use
-
Drainage holes aren't blocked
How to install a new porch light from scratch

Feeling ambitious? Installing a completely new porch light fixture isn’t as daunting as it sounds, though it does require a bit more electrical knowledge.
The installation process typically involves basic wiring skills and may require connecting your new fixture to existing lighting circuits for efficiency and safety.
Before you start, remember that electrical work may require building regulations approval in some areas. When in doubt, consult a qualified electrician. If you are unsure about working with electrical devices, it's best to hire a professional electrician to ensure proper and safe installation.
Step 1: Choose your fixture
Select a light rated for outdoor use with an appropriate IP rating (IP44 minimum for covered porches, IP65 for exposed locations). Consider the style of your home and the amount of light you need.
Step 2: Turn off the power
This bears repeating: turn off the power at the circuit breaker and use a voltage tester to confirm it's off.
Step 3: Remove the old fixture
Remove the old light fixture by unscrewing the mounting screws, then carefully disconnect the wires. There should be three: live (usually red or brown), neutral (black or blue), and earth (green/yellow). Make sure to manage all the wires carefully and ensure none are damaged during removal.
Step 4: Install the new mounting bracket/mounting plate
If you are moving the light, decide where the light fixture hang and secure the new bracket to the wall using appropriate fixings. Make sure it's level and can support the weight of your new fixture.
Step 5: Connect the wires
Match corresponding wires by coluor and function: connect the black wire (live) to the corresponding black wire from the fixture, the white wire (neutral) to the corresponding white wire, and the ground wire—often a bare copper wire—to the corresponding ground wire from the fixture. Use proper wire nuts or terminal blocks to secure all corresponding wires. Attach the bare copper ground wire to the ground screw on the mounting bracket to ensure proper grounding. Never leave bare wire exposed; you shouldn’t have to use electrical tape but have it handy just in case. Always follow the manufacturer's instructions to properly wire the fixture for safety and functionality.
Step 6: Attach the new light fixture
Secure your new light to the mounting bracket according to the manufacturer's instructions.
Step 7: Install the bulb and test
Pop in your bulb, making sure to use the correct type of light bulbs for your fixture. Turn the power back on, then use the light switch to test that your new fixture is working properly, and bask in the glory of your handiwork.
Frequently asked questions
What type of bulb should I use for my front porch light?
LED bulbs are your best bet for porch lighting. They last longer, use less energy, and perform better in temperature extremes. For front porches, aim for 1,600 to 2,600 lumens to provide adequate illumination without blinding your neighbours.
How many lumens do I need for a front porch light?
Most front porches benefit from 1,600 to 2,600 lumens. This provides enough light to see clearly without creating harsh glare. For larger or more exposed areas, you might need up to 3,000 lumens.
Can I install a dimmer switch for my porch light?
Yes, but make sure both your bulb and dimmer switch are compatible. LED bulbs require specific LED-compatible dimmers to function properly.
How often should I replace my porch light bulb?
LED bulbs typically last 15,000 to 50,000 hours, which translates to roughly 10-20 years of normal use. Traditional incandescent bulbs need replacing much more frequently, usually every 6-12 months.
What's the difference between warm white and cool white bulbs?
Warm white (2,700K-3,000K) creates a cosy, inviting atmosphere, whilst cool white (4,000K-5,000K) provides brighter, more security-focused lighting. For front porches, warm white is usually more welcoming.
Should my porch light have a motion sensor?
Motion sensors are brilliant for security and energy savings. They ensure your light only comes on when needed, extending bulb life and deterring unwanted visitors whilst welcoming expected ones.
Install outdoor lighting with confidence
Changing a porch light bulb might seem like a simple task, but doing it properly ensures safety, longevity, and optimal performance. Whether you're swapping out a burnt bulb or installing a completely new fixture, the key is taking your time and prioritising safety.
Remember, good lighting is an investment in your home's security, kerb appeal, and your own convenience. There's nothing quite like coming home to a well-lit entrance that says "welcome" rather than "good luck finding your keys in the dark."
Ready to upgrade your outdoor lighting game?
At Light Trend, we offer an extensive range of high-quality porch lights, bulbs, and accessories to suit every home and budget. From energy-efficient LED bulbs to stunning designer fixtures, our expert team can help you find the perfect lighting solution. Browse our collection online or get in touch with our lighting specialists for personalised advice on transforming your outdoor spaces.


Leave a comment
All comments are moderated before being published.
This site is protected by hCaptcha and the hCaptcha Privacy Policy and Terms of Service apply.